Configure Instance
This page provides instructions on how to configure your self-hosted Appsmith instance. You can configure a self-hosted Appsmith instance by choosing any one of the below options:
Admin settings
The Admin Settings page allows instance administrators on self-hosted instances to manage instance configurations, including email, authentication, Google Maps integration, as well as user settings and permissions. for more information, see Environment Variables reference guide.
Environment variables
You may also choose to configure your self-hosted Appsmith instance using environment variables. For more information about available environment variables in Appsmith, see Environment Variables reference.
Configure Docker installations
To configure a docker installation, go to your installation folder and edit the stacks/configuration/docker.env file with the environment variables for the service. For example, you wish to add the Google Maps API key. Add/update the environment variable APPSMITH_GOOGLE_MAPS_API_KEY and add the Google API key to it as shown below:
APPSMITH_GOOGLE_MAPS_API_KEY=YOUR_API_KEY
After making changes, be sure to restart the docker containers for the changes to take effect. Run the below command to restart the Appsmith container.
- Docker run
docker restart appsmith - Docker Compose
docker-compose restart appsmith
Configure Helm installations
You can modify your Appsmith installation on Kubernetes using a values.yaml file. Follow these steps to update the values:
- Community Edition
- Commercial Edition
-
Go to the root directory of your installation.
-
Generate the
values.yamlfile with:
helm show values appsmith/appsmith > values.yaml
- Modify the parameter values in the
values.yamlfile available under theapplicationConfigsection. For example, if you want to change the email address from which your messages are sent, as shown below:
applicationConfig:
  APPSMITH_MAIL_FROM:"test@test.com"
- Update the values with:
helm upgrade appsmith appsmith/appsmith -f values.yaml -n appsmith
-
Go to the root directory of your installation.
-
Generate the
values.yamlfile with:
helm show values appsmith-ee/appsmith > values.yaml
- Modify the parameter values in the
values.yamlfile available under theapplicationConfigsection. For example, if you want to change the email address from which your messages are sent, as shown below:
applicationConfig:
  APPSMITH_MAIL_FROM:"test@test.com"
- Update the values with:
helm upgrade appsmith appsmith-ee/appsmith -f values.yaml -n appsmith
Configure ECS installations
To configure an ECS installation, follow these steps:
- Navigate to the ECS console and select Task Definitions on the sidebar.
- Click the Task Definition used by your ECS instance, and hit Create new revision.
- On the
Task Definition configpage, click the Appsmith container definition to edit it. In the Environment Section, enter the environment configuration as key-value pairs, as shown below.
-ca02923f39accea962e1ca9546d44608.png)
It's recommended to use AWS Secrets for sensitive information. Follow these steps to create a secret. Use the ARN of the secret as the Environment value and set the option to ValueFrom.
- Hit the Update button, and hit Create to make a new task definition.
- Navigate back to the ECS console and select your cluster. Click your service to open the service details.
- Click Update, and select the latest revision of the Task Definition.
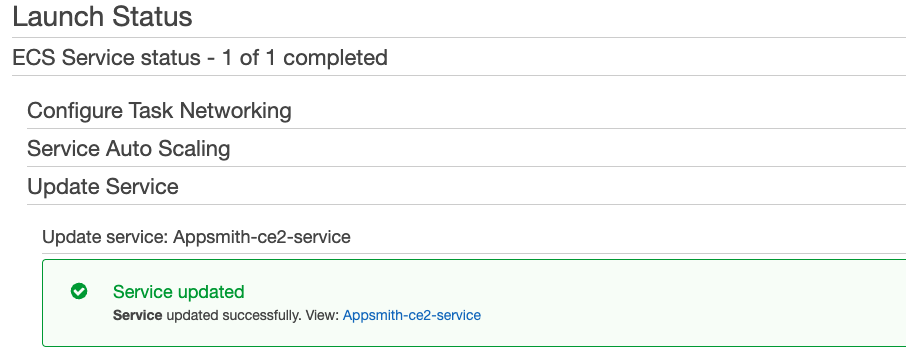
- Hit Skip to review and then Update Service. The screen below shows the status.

It may take a minute for the new ECS Task to start running.